|
|||||||||||||||
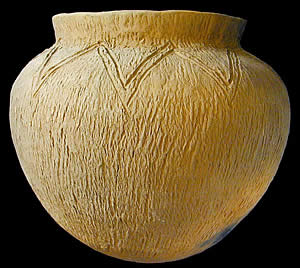
Step-by-StepSuccessful pottery making requires skill, knowledge, and experience. The process begins with the gathering and preparation of the raw materials and, for beginning potters, making a good set of pottery-making tools. Material and tools in hand, the potter carefully forms the vessel while the clay is wet and then allows it to dry thoroughly. A week or so later, the pot is fired. If the steps are followed properly and all goes well, the result is a well-fired earthenware pot suitable for cooking and/or storage. This photographic gallery shows each step of the process and several variations. Note that the images were taken during several different pottery-making episodes. |
|||||||||||||||
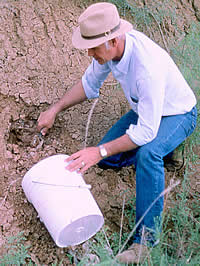
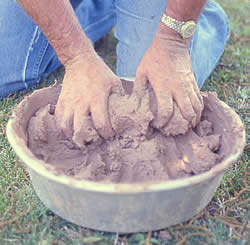
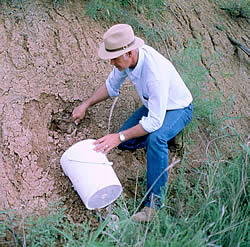
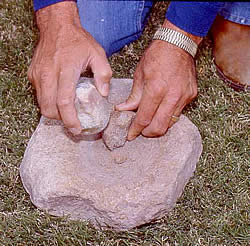
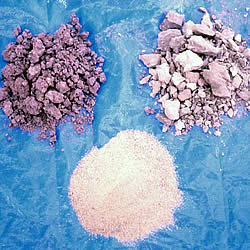
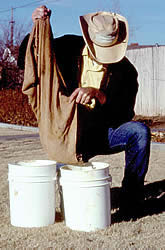
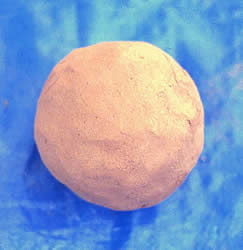
(1) Preparing the Raw MaterialsBorger Cordmarked, like virtually all earthenware pottery, is made with three main ingredients—clay, temper, and water. The Texas Panhandle is blessed with at least four different geological formations that contain pure clay deposits suitable for pottery making. Other secondary clay sources can be found along the Canadian and its tributaries, but these clays are often impure and more difficult to use. From oldest to youngest, the main sources include the red clay of the Permian Redbeds, the yellow to red clays of the Tecovas and Trujillo Triassic-age formations, the brown to bluff clays of the Ogallala Pliocene-age formations, and the dark gray and blue clays from the shallow playas dating to the Pliocene and Pleistocene. All but the playa clays are exposed in the canyon walls of the Canadian Breaks. While good pottery can be made from all four sources, each clay has its own peculiar properties and must be prepared somewhat differently. For instance, the Permian red clay contains lots of salt and gypsum, minerals that often cause pottery to explode or break apart during firing. Removing the mineral inclusions is a tedious and time-consuming process. The younger clays are easier to use and require less preparation. For all the clays, the most dependable preparation method is to dry the clay thoroughly and then pulverize it and carefully search for rootlets, pebbles, and other impurities. Sometimes these impurities are removed by screening or filtering after the clay is rehydrated by adding water and allowed to sit overnight. Moist clay is "plastic"—easily shaped into almost any form, but this plasticity comes at a cost. Pure clay may be too flexible to hold its shape and it shrinks and cracks as it dries. Therefore, "temper"—nonplastic material such as sand, volcanic ash, crushed rock, crushed pottery (grog), bone or shell—is often added. Without temper, clay forms flat platelets that tend to trap and hold water; temper particles disrupt the clay platelets and allow the walls of the vessel to dry more completely. Different types of clay and different types of temper must be mixed at various ratios to obtain a workable pottery clay. Typically the amount of clay varies from 50-70% and the amount of temper from 30-50%. In Borger Cordmarked pottery, micaceous sand and crushed quartzite are the two most common tempers.
|
|||||||||||||||
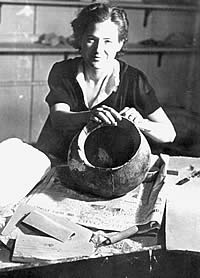
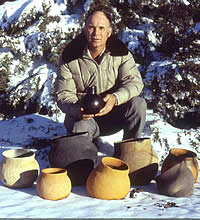
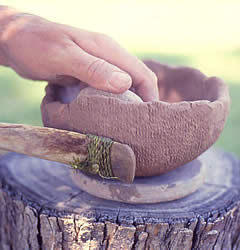
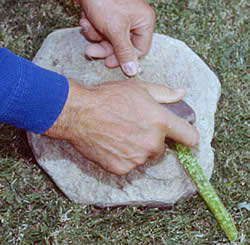
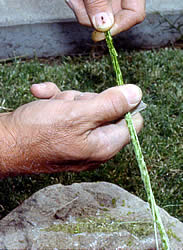
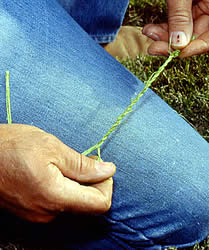
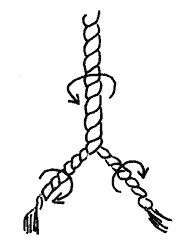
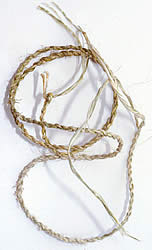
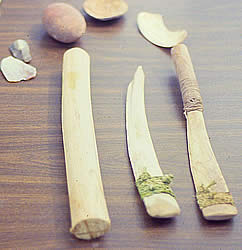
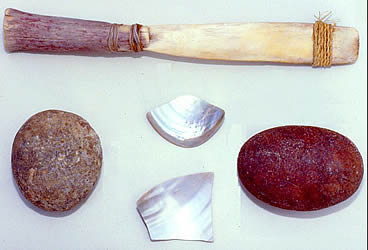
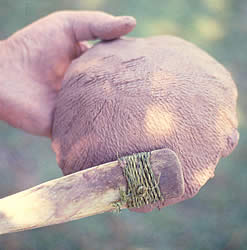
(2) Making the ToolsA potter, just like any craft specialist, needs a good set of tools. The tools needed to make cordmarked pottery include containers for gathering, carrying, and mixing the raw materials; crushing tools for pulverizing clay and temper; and shaping tools for working the wet clay. The shaping tools—cord-wrapped paddles, anvils, scrapers, and polishing stones—were probably prized possessions handed down from mother to daughter. We don't know for certain that the prehistoric potters during the village period were female, but this was very likely the case based on early historic accounts from the Southwest and the Plains. Men's and women's roles are dictated by custom in most traditional societies. As Barbara Naranjo from Santa Clara Pueblo teased: "Men don't like to get their hands dirty." This attitude has changed in recent decades as pottery making has become a successful commercial venture for many Indian groups in the American Southwest.
|
|||||||||||||||
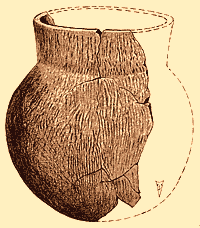
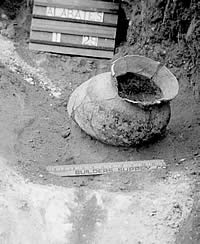
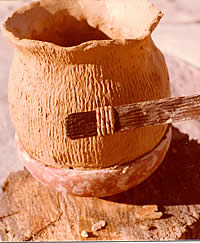
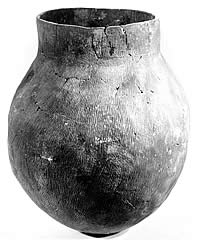
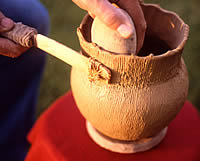
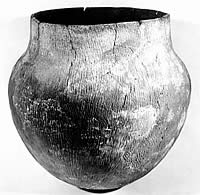
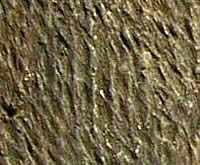
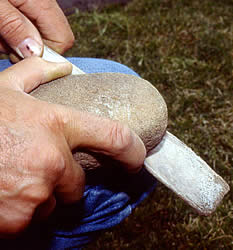
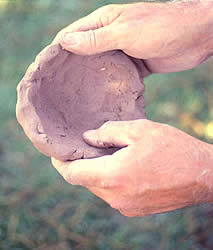
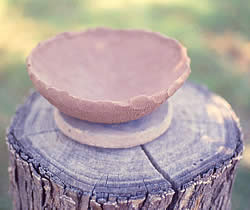
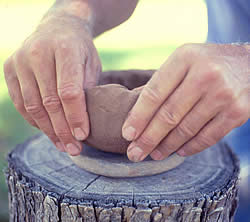
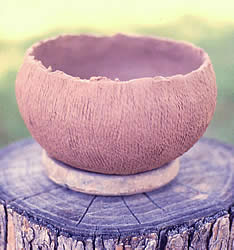
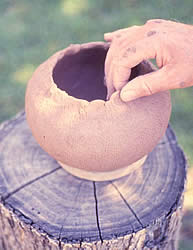
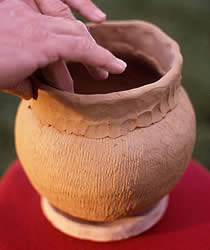
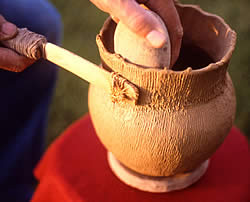
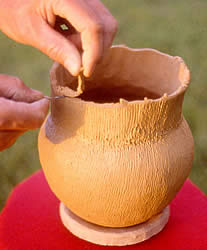
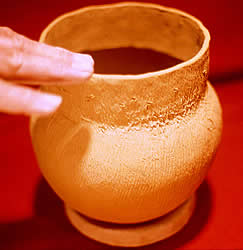
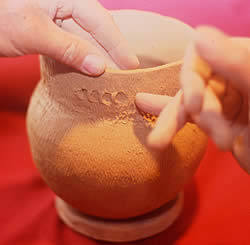
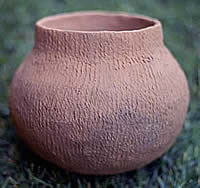
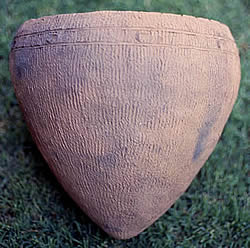
(3) Forming the potCareful examination of potsherds and partial vessels found by archeologists at Plains Village period sites reveals many clues as to how cordmarked pottery was made. Other clues come from ethnographic accounts and plain old trial and error. While there is more than one way to achieve similar results and many minor variations, the process of cordmarked pottery making is now well understood. Manufacture begins by forming the base of the pot and letting it begin to dry. As it dries the base of the pot becomes strong enough to hold the weight of added clay. The body of the pot is formed by gradually adding rope-like clay coils one at a time. These are shaped by hand and then welded into place with a cord-wrapped paddle and anvil. Gradually smaller coils are added until the "neck" is created, followed by a rim. Once the rim is trimmed, the vessel is ready for decoration, if desired. The completed "greenware" pot is allowed to dry for several days or a week before it can be fired. One step that is not shown below is using a mussel shell scraper on the interior of the vessel to thin the walls. This is done after paddling has mashed the coils together. Scraping removes or obscures most of the anvil marks and results in thinner, more even walls. Archeological examples of pottery with obvious anvil marks show that scraping was not always done by prehistoric potters.
|
|||||||||||||||
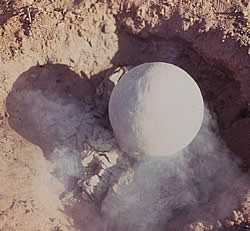
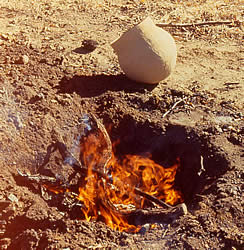
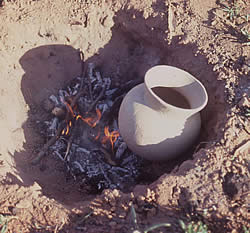
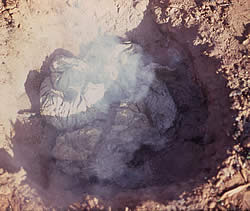
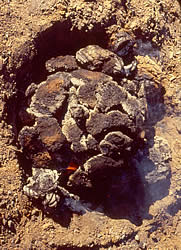
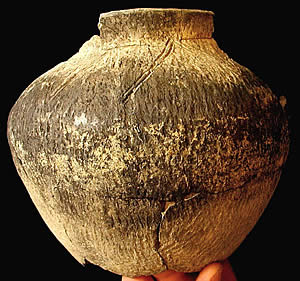
(4) FiringSuccessful pottery firing requires controlled conditions. Calm, warm days are greatly preferred over windy or rainy days, especially during the cool times of the year when a cold gust of air can shatter a pot during firing. Cordmarked pottery was made in simple open fires, not in special pottery kilns. The firing temperatures were relatively low—perhaps 500-700° F, a temperature range easily reached by an open fire. Many kinds of organic materials can be used to fire pottery. Of those readily available to Plains Villagers of the Texas Panhandle, brush and dried bison dung were probably the main fuels. |
|||||||||||||||
|
"You never know if you'll have a pot until
you fire it." -Alvin Lynn
|
|||||||||||||||
|
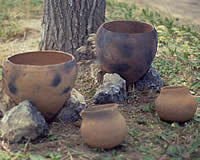
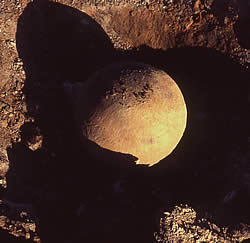
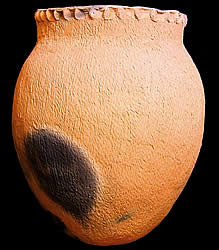
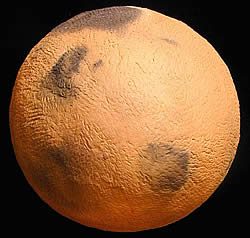
The firing sequence involves preheating the pottery vessels and then covering the pots with combustible material so that an even fire is created that completely envelops the pottery vessel. Fires that freely allow oxygen to reach the vessels will create light, bright "oxidized" colors. When oxygen is cut off by smothering the fire or by tightly covering the hot pottery, the clay turns dark gray or even black from unburned carbon. Localized dark patches called "fire clouds" result from direct contact with incompletely burned fuel (or another pot).
|
|||||||||||||||
Credits and SourcesThis exhibit was developed by Alvin Lynn and Steve Black and is based in part on a 1982 graduate class paper written by Lynn for Dr. Jack Hughes at West Texas State University that is entitled "Replication of Cordmarked Pottery." Black also interviewed Lynn. Lynn made all of the replicas shown in this exhibit and provided most of the photographs. All of the photographs of pottery making were taken by Alvin and Nadyne Lynn. Archeologists Chris Lintz and Doug Boyd reviewed the exhibit draft and provided helpful comments. Dockstader, Frederick J. LeFree, Betty Perttula, Timothy K. and Christopher Lintz Peterson, Susan Suhm, Dee Ann, Alex D. Krieger, and Edward
B. Jelks Wirt, Sharon Linkshttp://www.acers.org/cic/cLinks/clinks.asp Making your own: The steps outlined in this exhibit can be simplified by starting with commercial potter's clay. You will need to make your own cord-wrapped paddle and find a suitable anvil stone. The only tricky (and potentially hazardous) part is the firing, which should be done with appropriate safety precautions.
|
|||||||||||||||
|
|||||||||||||||
